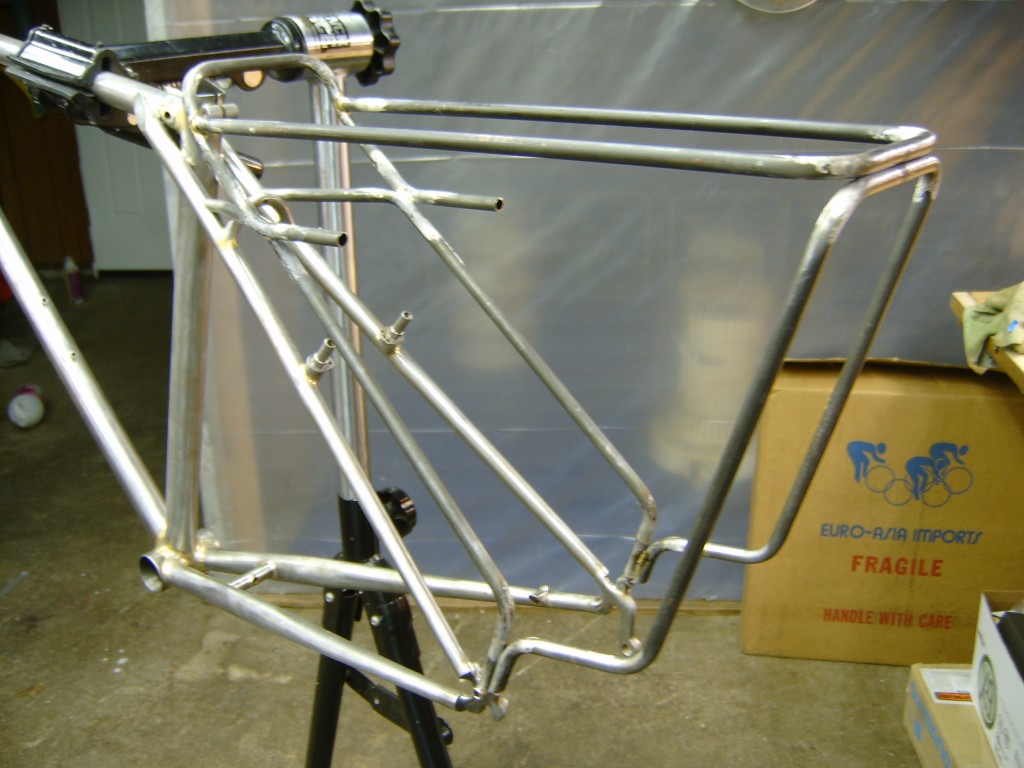
Detachable integrated racks are time consuming. A custom rear cargo rack can take nearly as long as the rest of the touring bike to build. Needless to say, making them does little toward funding my next R&D trip– but the ride quality and load stability of an integrated rack is so much better than those adjustable bracket racks that I can’t not offer them on my bikes.
So, for the technically curious, here is how the detachable integration comes about…
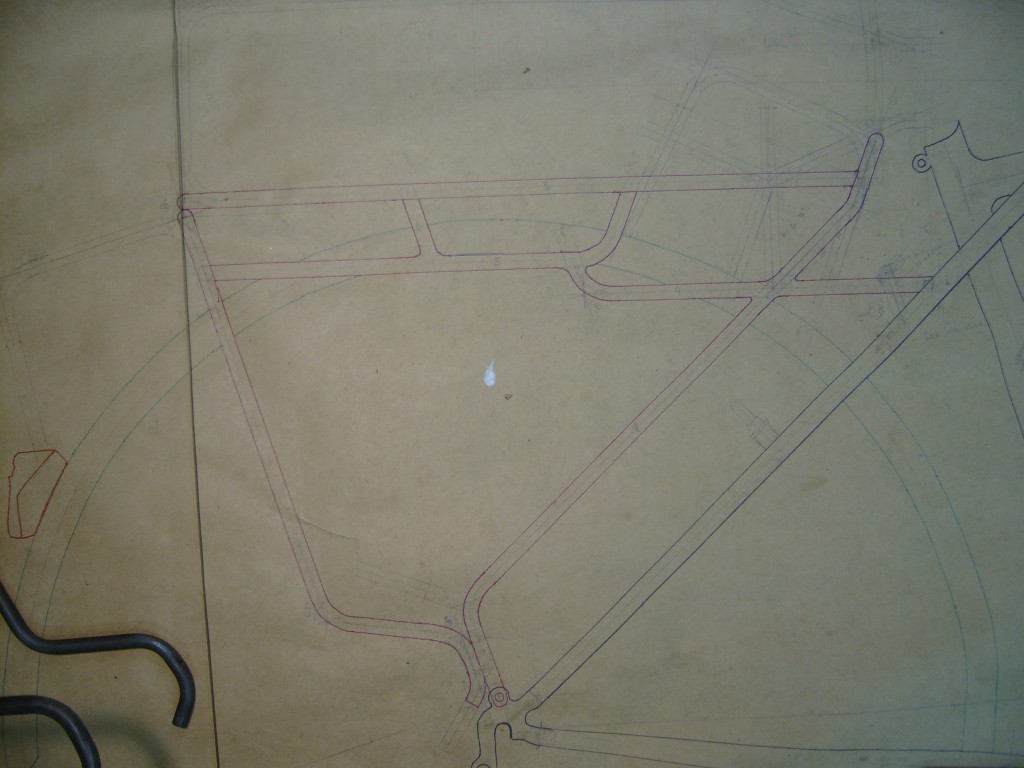
The rack begins with a drawing, which was done along with the frame drawing before anything was built.
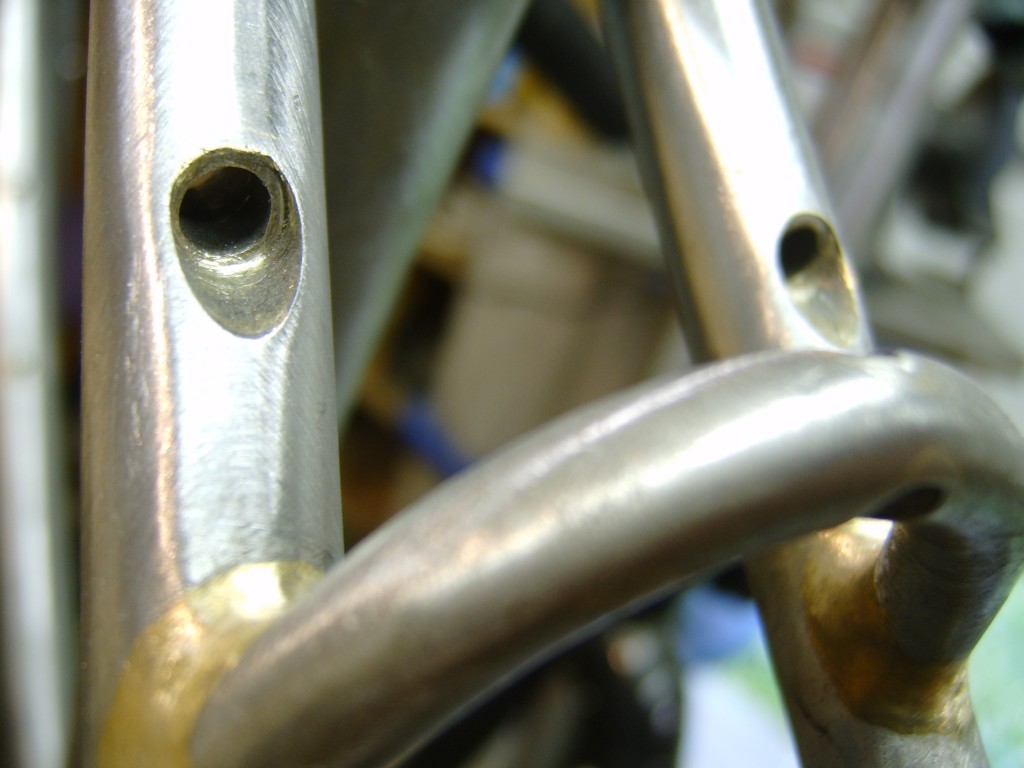
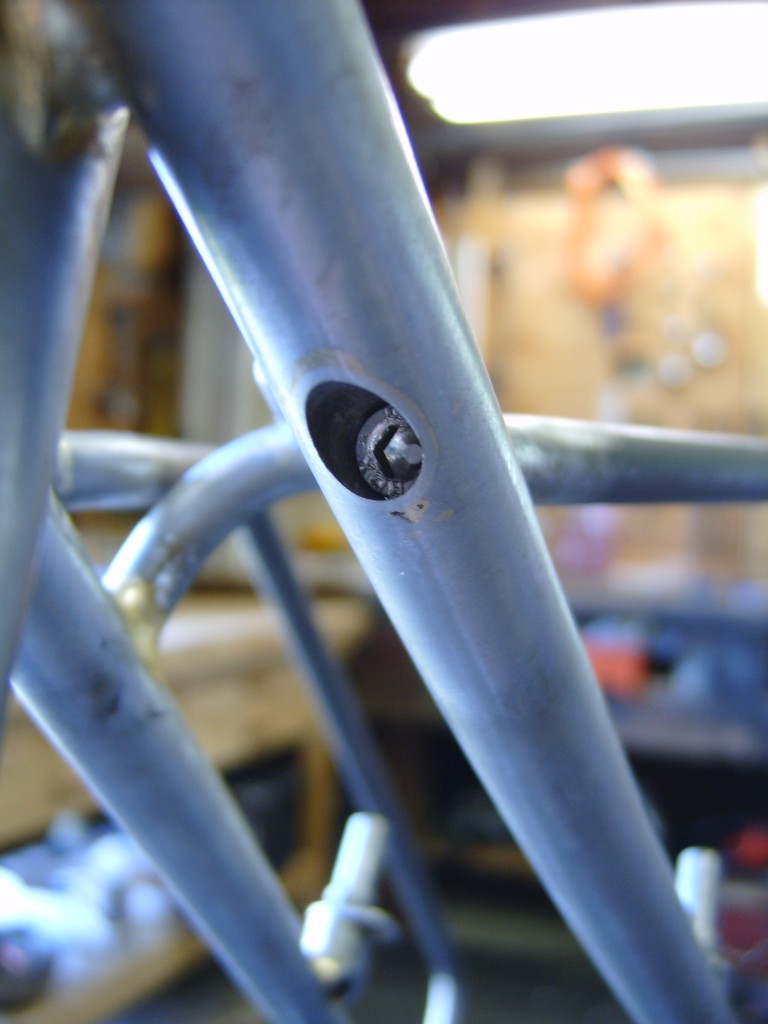
Next the rack's horizontal strut receptacles are installed through the seat stays. The holes are drilled slightly smaller, then filed by hand to the correct angle, position, and 3/8 inch size. Next, two pieces of stainless tubing are brazed into the holes; a longer 3/8 inch length makes a tunnel and restores structural integrity to the stay. A smaller and much shorter segment is then brazed inside the larger tube to act as a stop for the rack strut. Tolerances are very small. Any misalignment here will cause further (and increasing) inaccuracies as I fabricate the rack.
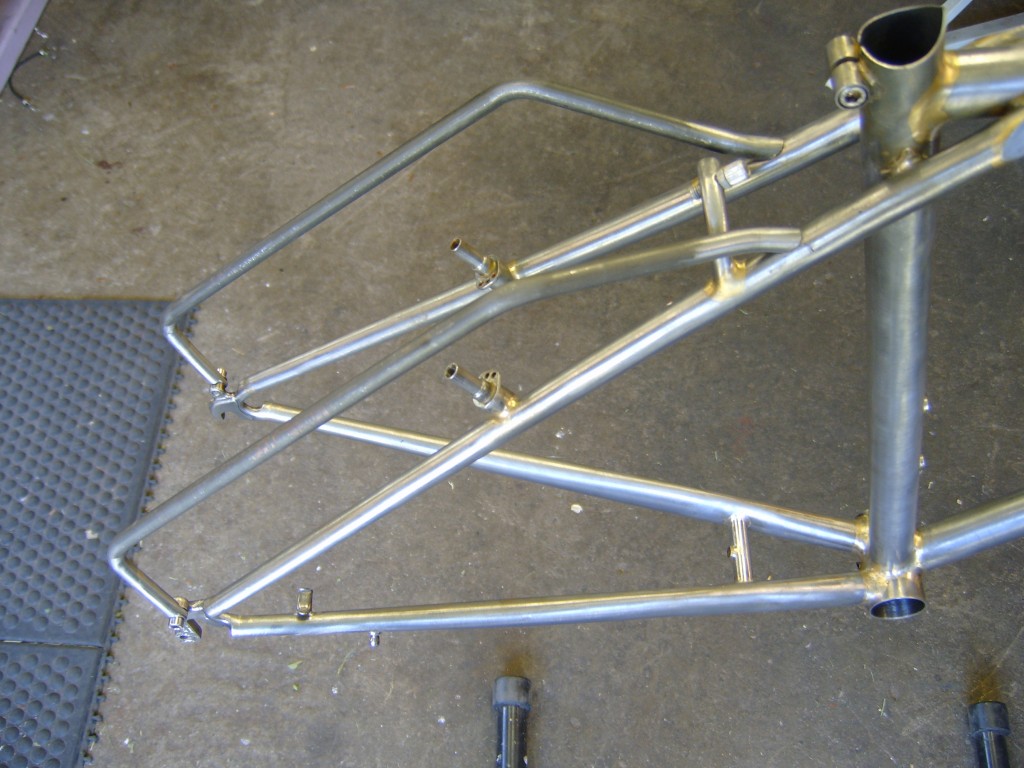
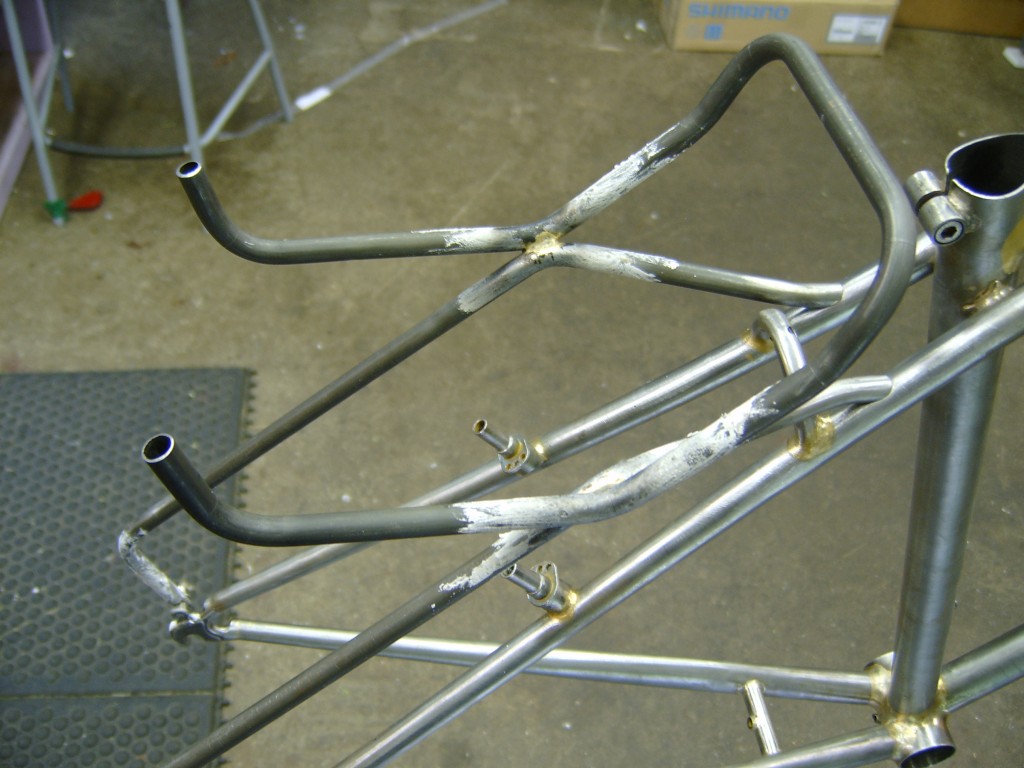
Next an attachment chassis is made. Consisting of two parts, the chassis will act as the foundation of the rest of the rack, insuring that the finished rack snaps neatly into place without any bending or tension. The bottoms of the chassis assemblies are stainless steel and mount outsite the drop out eyelets.
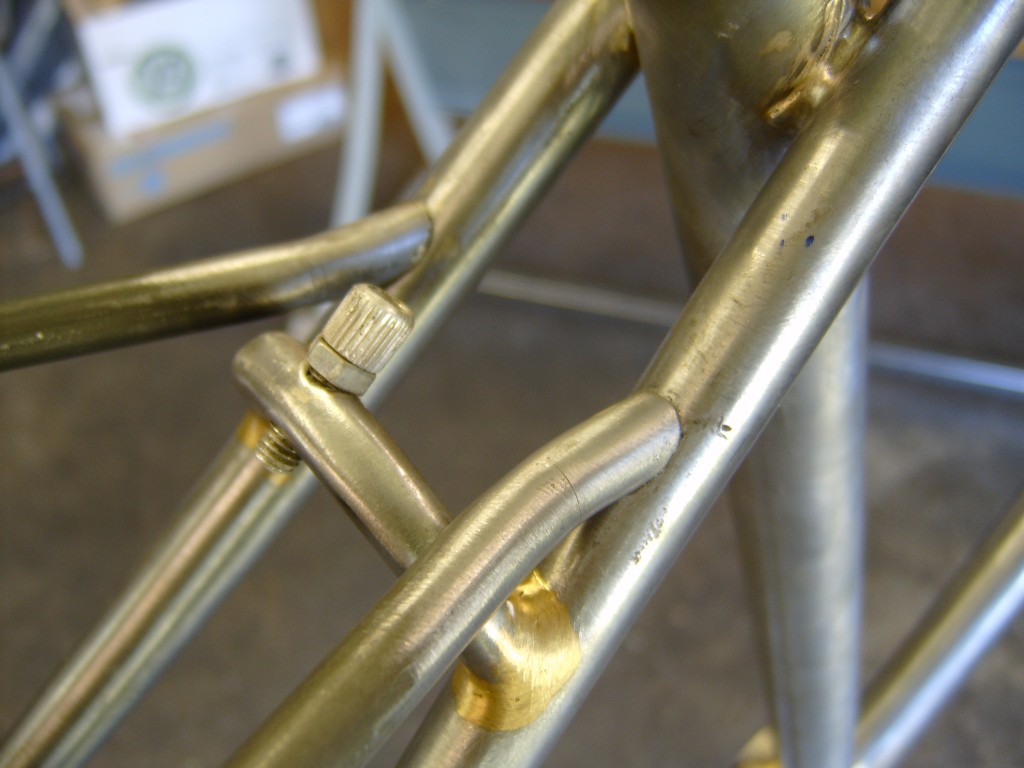
Up above, the seat stay struts' outer chromoly tubing is precisely mitered to meet, but not quite touch the seat stay surface (thus preserving the paint), while a stainless perpendicular inner face is held fast to its mate hidden inside the seat stay attachment.
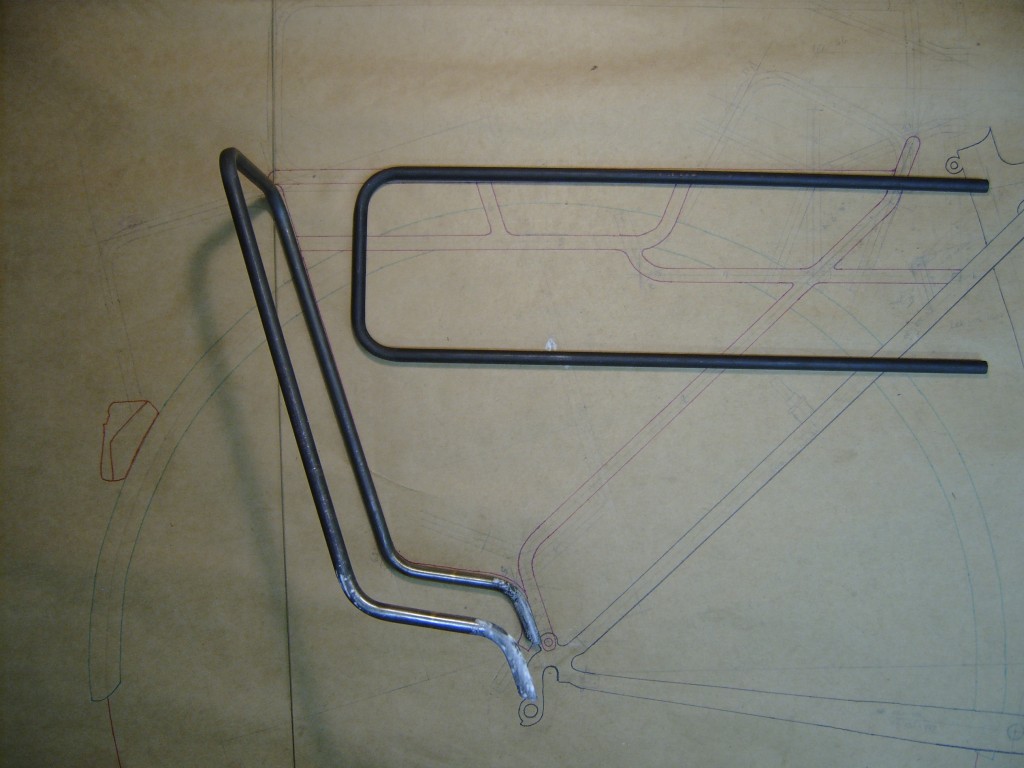
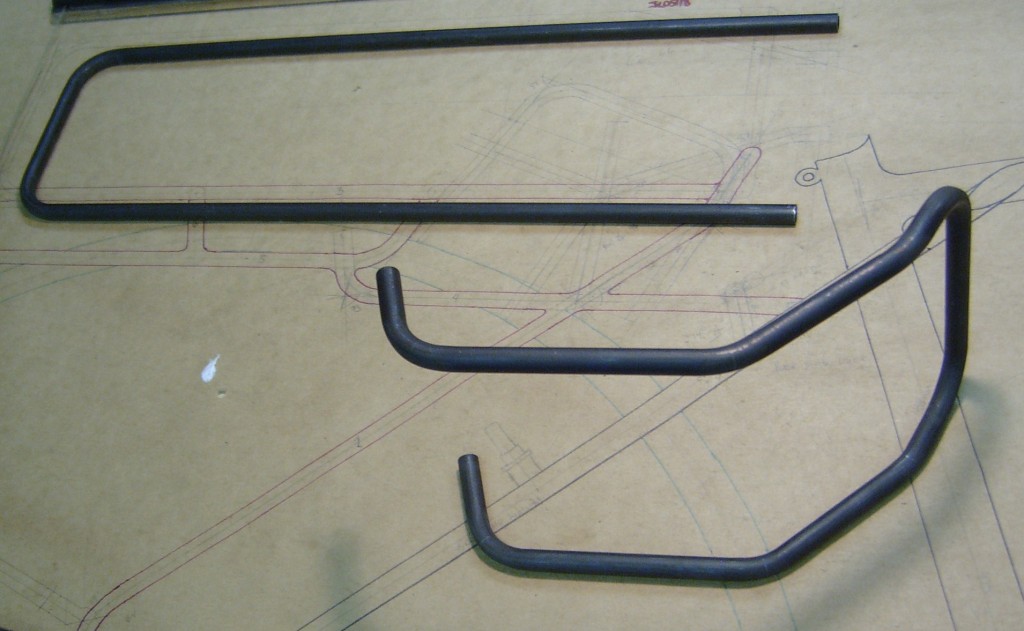
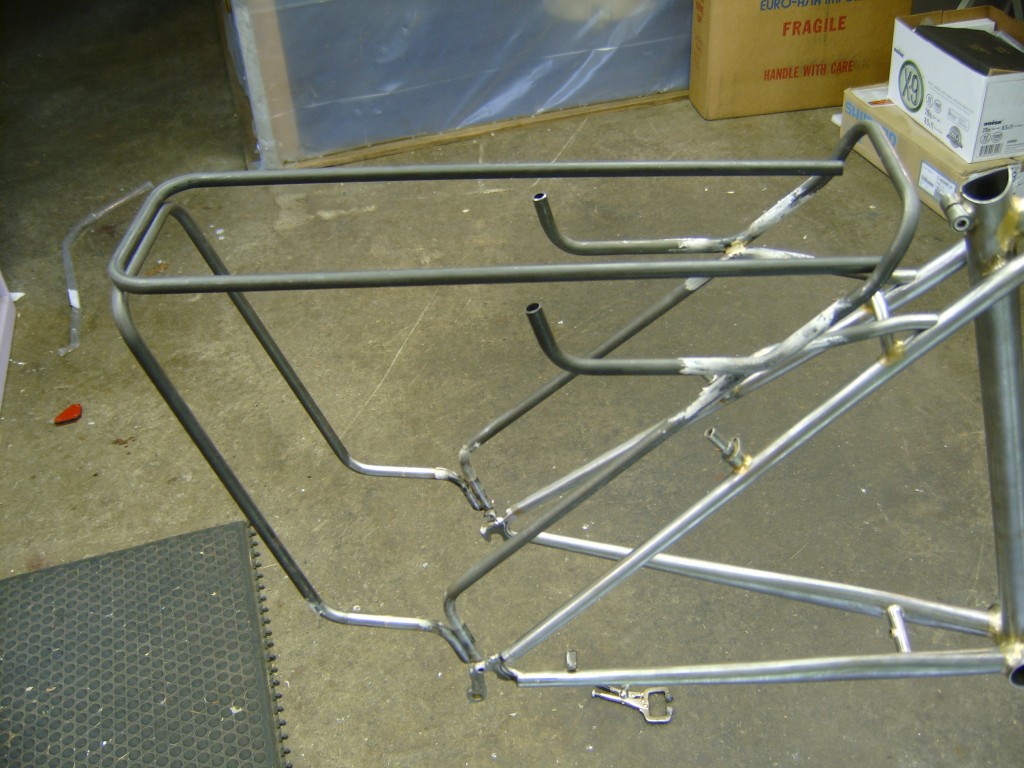
Now that the chassis is in place, I start bending the subassemblies that will make the rest of the rack . Here are the top surface and rear strut segments.

