
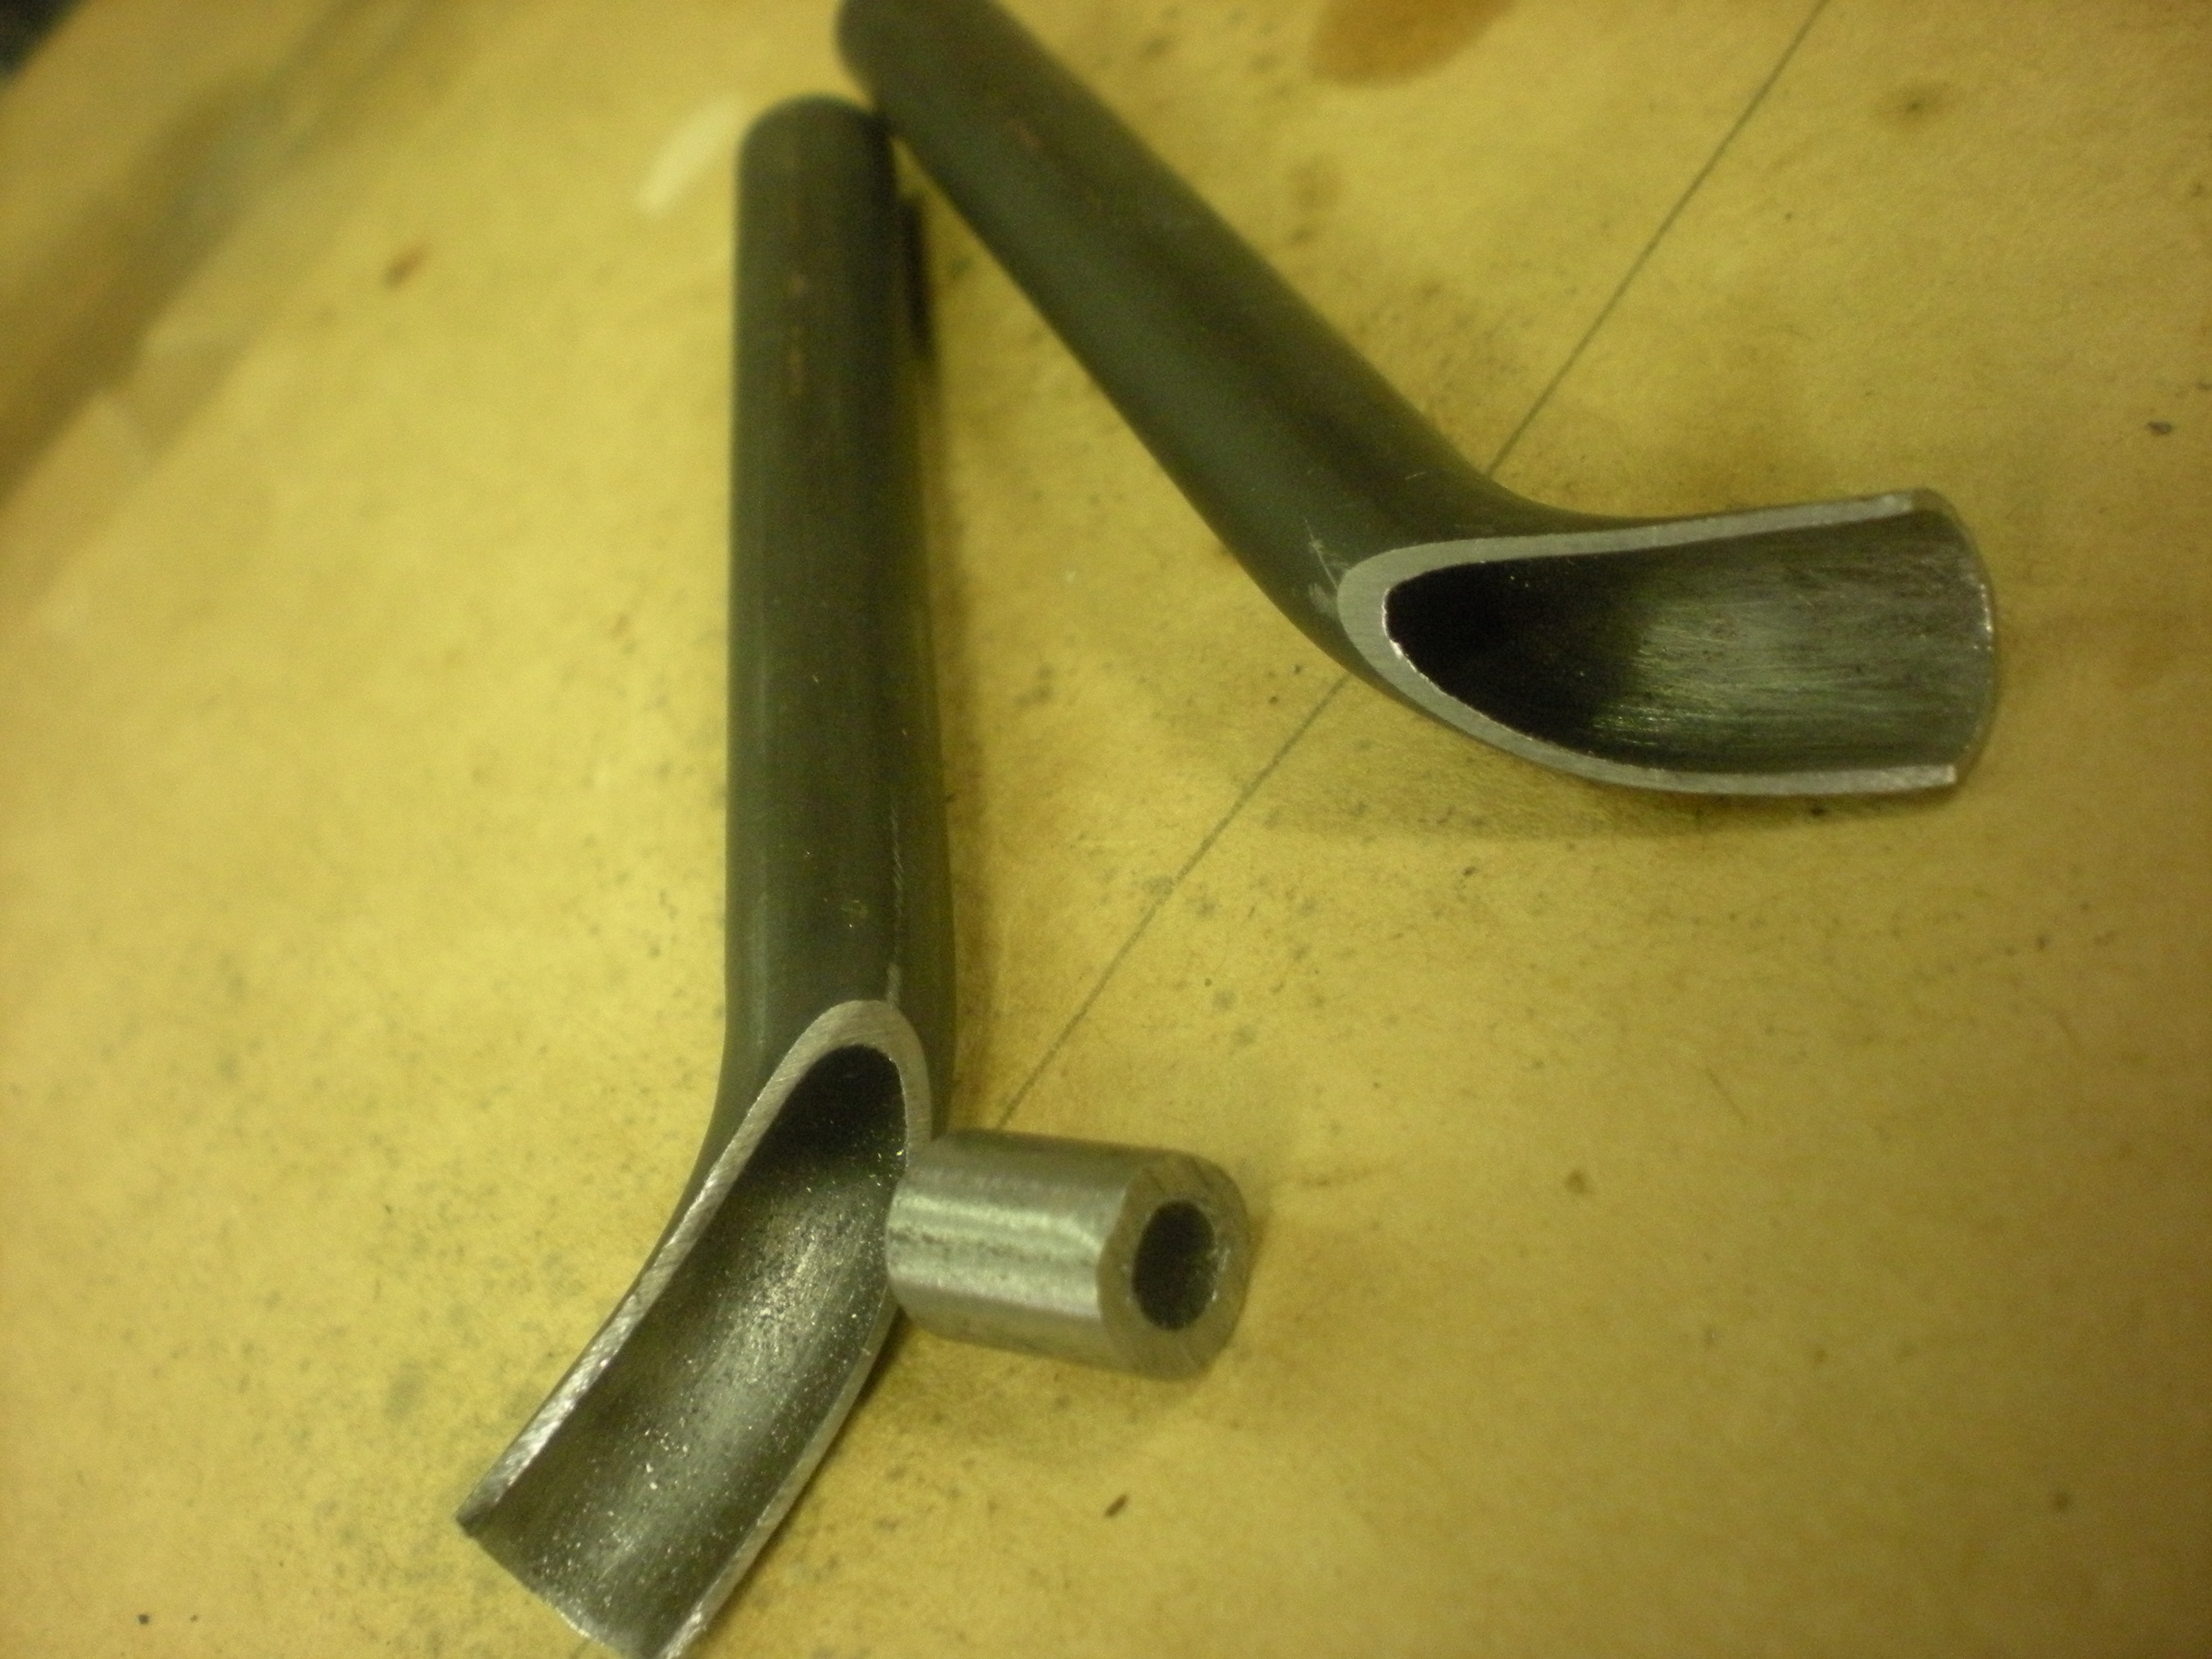
Now that the brass tubing is in place, work can begin on a suitable bridge. The trick here is to provide enough downward slope to minimize cable friction without sacrificing the structural integrity of the bridge. I decide on a "Y" shape. Two pieces of 3/8" tubing are bent to the correct angle and filed "open" to meet in the middle. The small cylinder is 5/16" rod that's been drilled to fit the brass tubing. It will be brazed into the shared bottom end of the bridge.

Next the two halves are clamped onto a length of 5/16" rod and brass brazed together.
")
Then, to figure the miter to the seat stay. I eyeball the angle and intersect and plug the numbers into the "Tube Notcher" applet on Nova Cycles' website. This provides a very handy scale printout to cut out and trace onto the tubing.
 The miter is adjusted to an exact fit by extending the paper template past the end of the tube, and then cutting away any extra material to eliminate gaps. The “legs” are then cut to where the span between them is just slightly wider than the seat stays, and it’s a matter of mitering the legs incrementally shorter until the mites meet the stays.


Now the cylinder shaped cable housing stop is brazed first onto the brass tubing, then into the entry hole. I cut off and carefully drill out the tubing outside the stop and file away the protruding remains of the cable stop housing. No going back now.


Next the drilled rod segment is inserted into the bottom of the bridge and brazed, and a support bridge is mitered at the top-center and ends, then brazed in place. (missed photo op.)
") Some finish filing to clean things up, and the bridge is finished. The frame is ready for attachment of the canti bosses, deraileur cable stops, and finishing touches.
Some finish filing to clean things up, and the bridge is finished. The frame is ready for attachment of the canti bosses, deraileur cable stops, and finishing touches.
")