The front triangle is almost complete. I’ve held off on capping and attaching the seat stays to try an involved twist on through-the-top-tube cable routing. Since the seat stays are already connecting to the TT, at a modest angle, why not make a special canti-bridge and route right to the brake? It’ll be eeeasy…

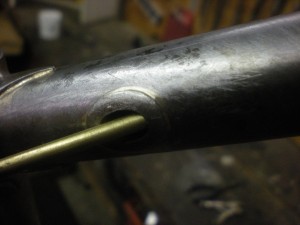
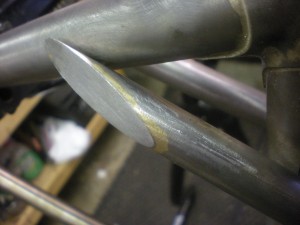
I start by making an oval shaped plate out of seat tube scrap. Round th edges and braze to the top tube at the entry point. Drill a hole and angle it for the brass tubing. I'll eventually slide a stainless cable stop over the tubing and braze it into the hole to accept the flexible housing.

After bending a little crook in the end of the brass tubing, I push it through, aiming for the second hole where the seat stay will connect to the top tube. I keep a continual, slight outward bend going as I push the tubing to avoid catching the soft brass on the sharper steel edge of the exit hole. I don't need to reinforce this one; the seat stay will do that once it's connected.

Now I can run the brass tubing through the seat stay, which I’ve drilled at the top tube and bridge connection points. The routing is tricky. I basically maneuvered the seat stay around the tubing, making tiny bends as I went in order to make the corner as round as possible and keep cable friction to a minimum.


