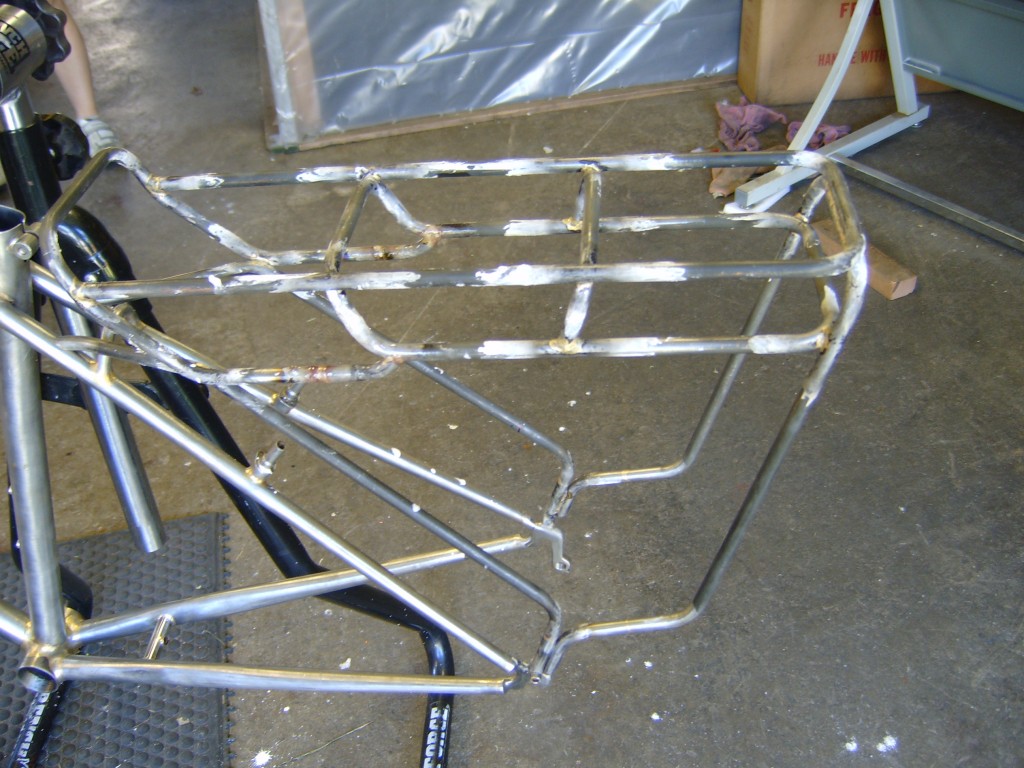
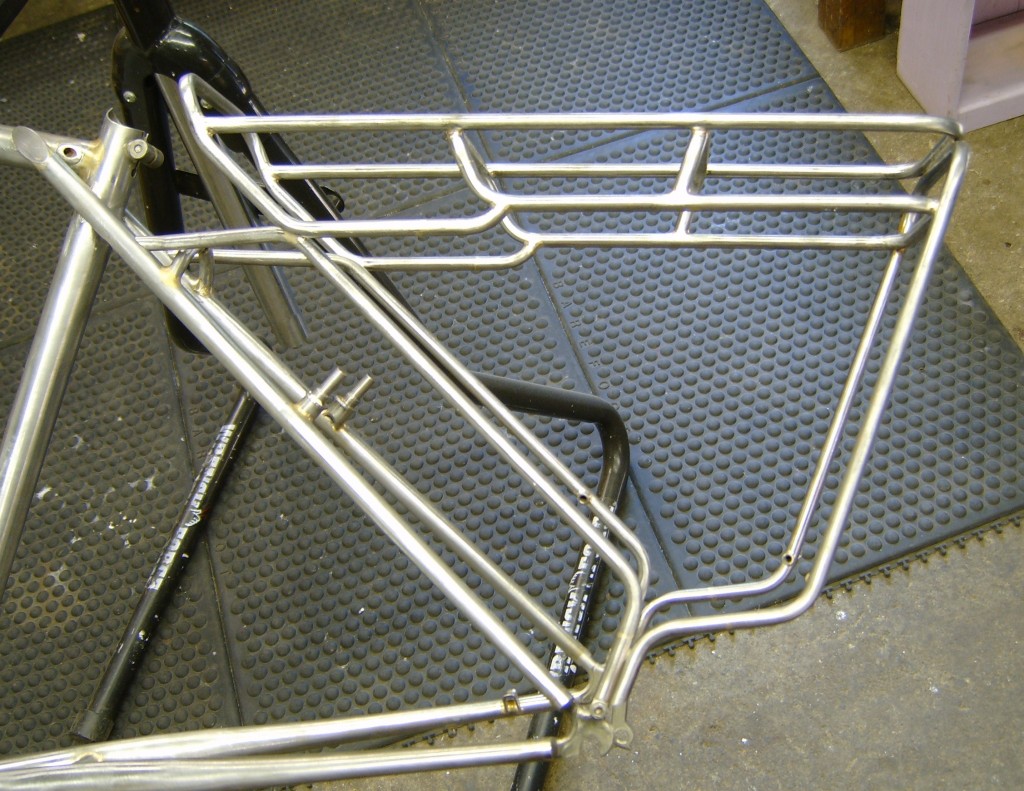
Now that the outer framework is complete I can move on to the smaller sub-assemblies…
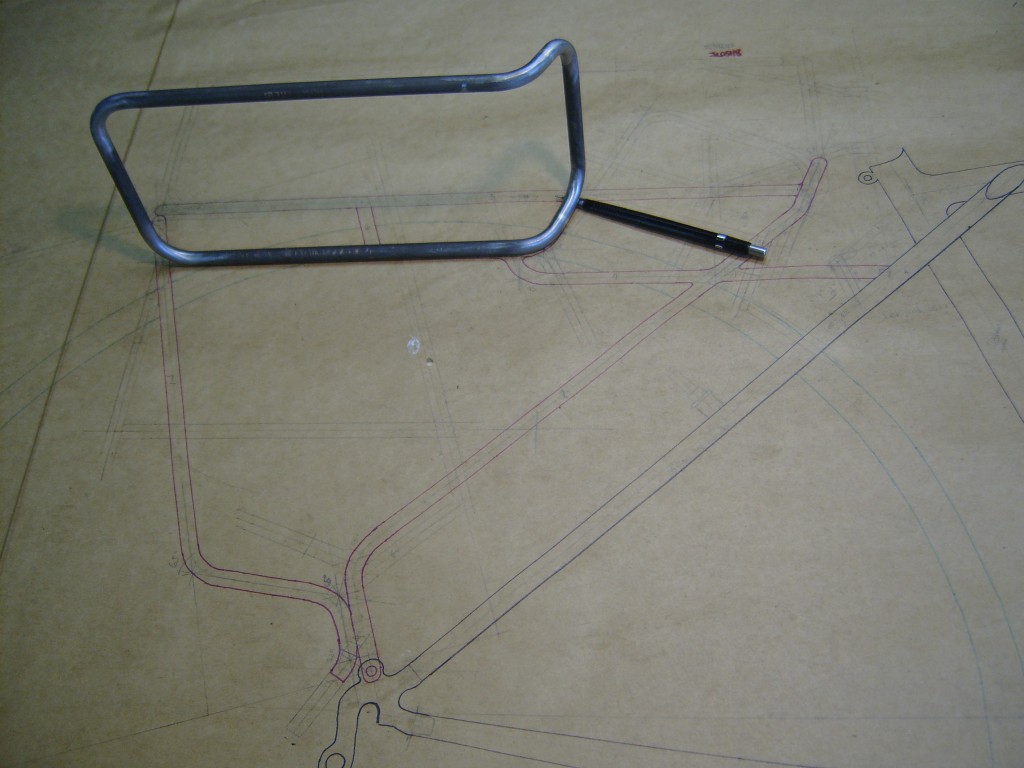
First I build the bag rail sub-assembly. The front and top bends of the piece are too close together for the bender (one bend gets in the way of the other), so I build it in two parts, with joints between those two bends.
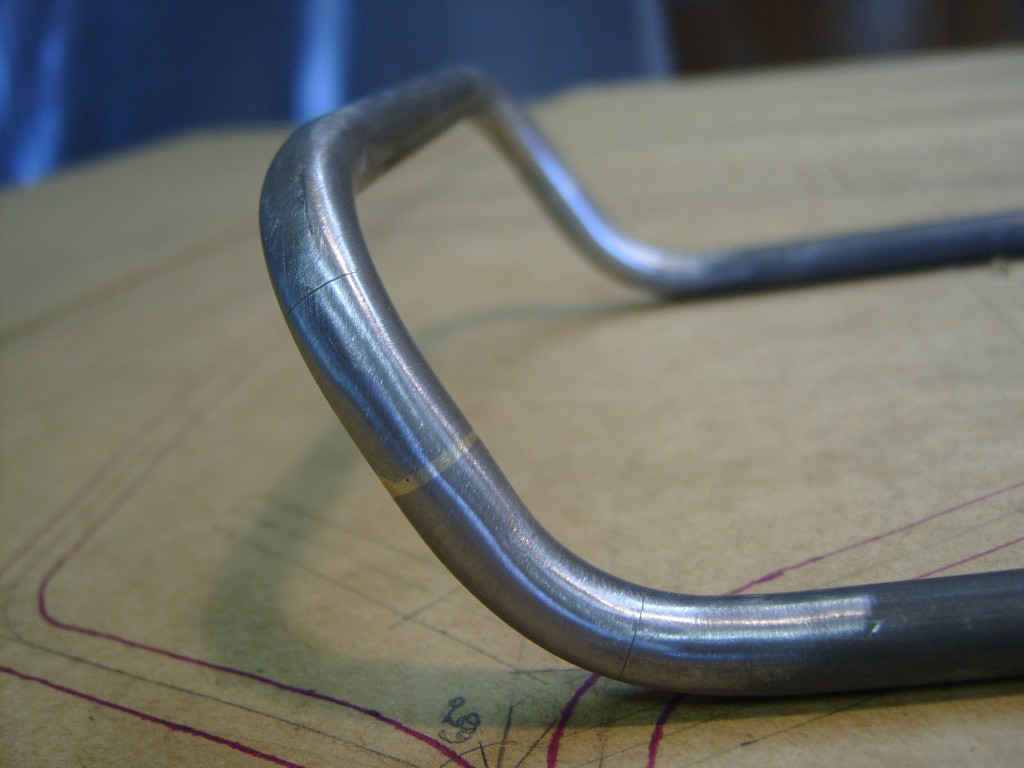
Here is a close-up of the splice. The two segments are joined with a short piece of 5/16 tubing and brazed with silver.
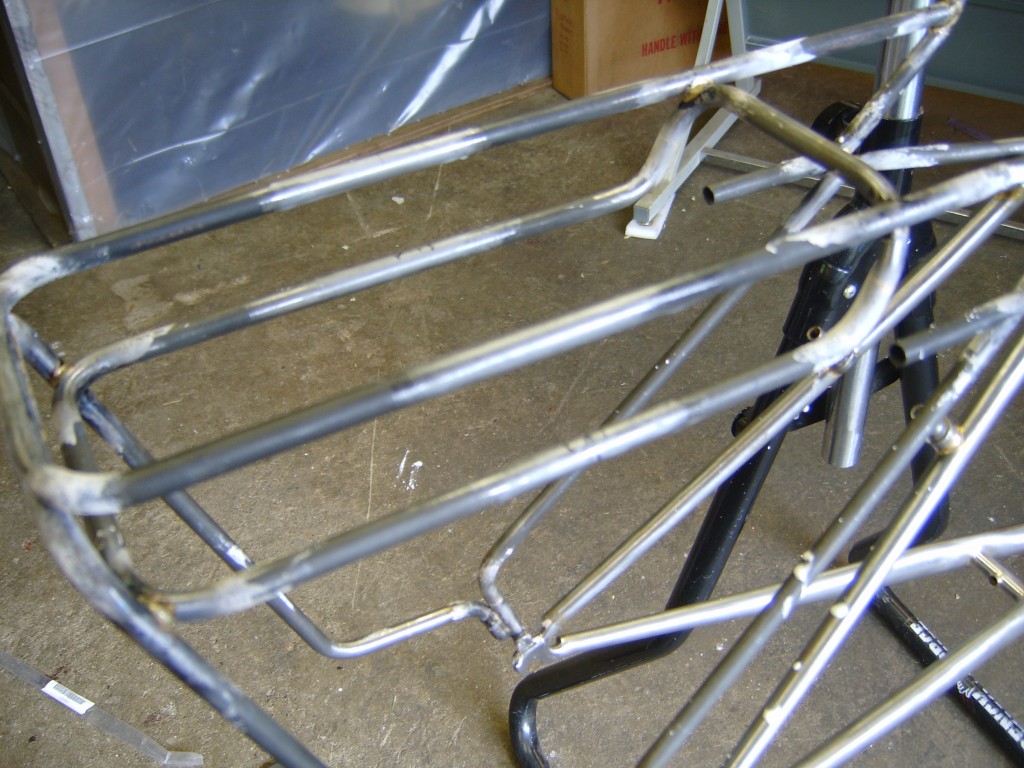
Next the bag rail assembly is squarely positioned inside the framework, fixtured, and brazed in place.
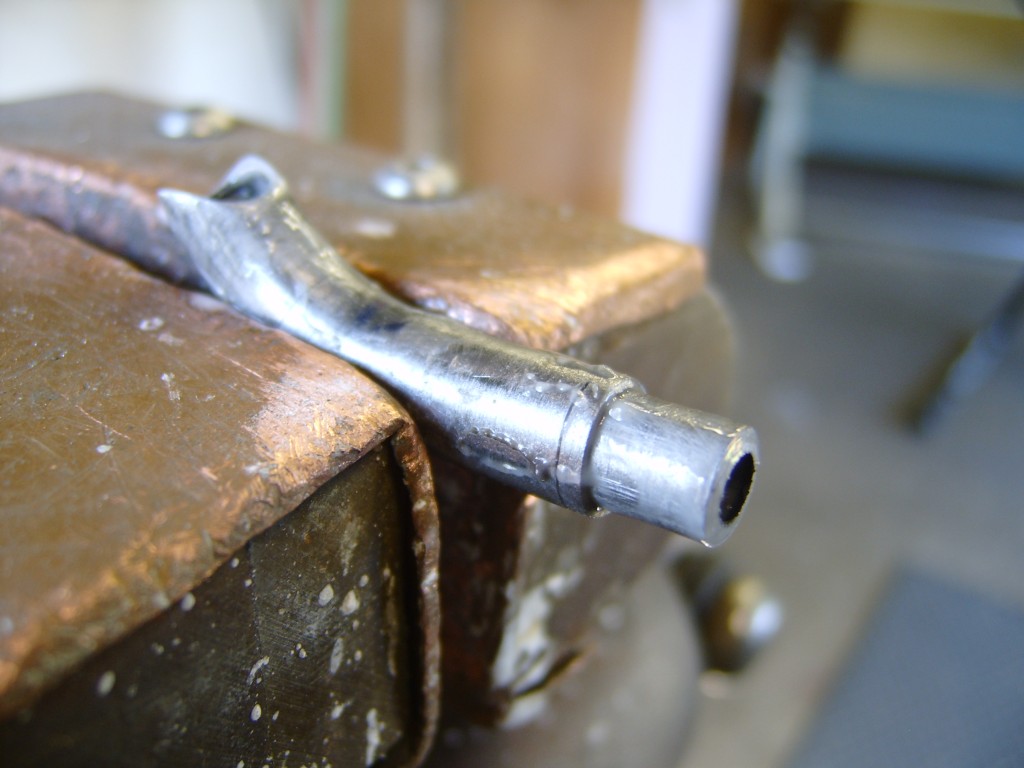
Then the reinforcement struts are bent, cut to length, mitered to fit, and spliced in the same fashion as the front portion of the bag rail.

